Image Slider

Showing posts with label Vegetarian. Show all posts

Gluten-free & Vegan Maple Date Squares

Salut world!

It's Friday & your Gurl is back with this delightful and super easy, vegan, and gluten-free, Maple Date Square recipe.
I secretely wanted to make giant cake after seeing the below meme but decided that a small batch of date squares would suffice.

                        Image result for baking memes
I go through phases with date squares; like, gimme gimme and then, no touchie for a long while.
I first fell for date squares when this place called Commensal used to make them. They were an amazing vegetarian resto back in the day which sadly went the way of the dino. I liked their squares cuz they were oatty, not-too-sweet, and rich, buttery, goodness.
Sadly, they had gluten and I stopped indulging long before Commensal restos closed.
At the time gluten-free was basically new and unheard of, many people thought I was being over the top with my allergies and my health.
Ha! If they could see things now.
                                    Image result for baking gluten free memes

                                            Image result for baking gluten free memes

I woke up a few weeks ago and said, "Today is a date square day!"
And so, this recipe was born.
I think you will truly like the ease of it and I kept it small so you could have a little treat for that vegan/gluten-free guest, you will be seeing more of.
Seriously though, you can make them just for you and freeze what remains. Mine lasted a good month in our chest freezer, and sharing yummy noms is always appreciated.
Have fun making them and by all means, get the little one's involved!

Maple Date Squares for 1-2 people:
Base:
1/2 cup quick oats ground to slightly coarse flour
1/4 Cup ground almond flour
2 Tbsp of 1 flax egg (1tbsp flax with 3 Tbsp water)
1 Tbsp coconut sugar
2 Tbsp ground pecans
1/4 cup ground tiger nuts
1 /4 tsp bs
Pinch pink salt
1 Tbsp earth balance soy free
1 Tbsp organic coconut oil 
Pinch cinnamon 

For topping:
Reserve 3 Tbsp flour mix from base dry mixture before adding fats and flax egg
1/4 cup oats
1/4 cup ground walnuts
1 Tbsp coconut sugar
1 Tbsp ground pecan
1 Tbsp ground tiger nuts
1 Tbsp coconut flour
1 1/2 Tbsp earth balance 
I like a lot of crumble topping, you can sprinkle less of the completed mixture if you prefer a thinner crumble. Keep the leftover for putting on yogurt of choice. 

For filling:
6 medjool dates soaked pits removed
3 Tbsp maple syrup
1 tsp Vanilla
1 Tbsp flax egg that remains 
Pinch sea salt
1/3 cup oat milk unsweetened 
Blend all in mixer until almost smooth, I keep a few small chunks but not big one’s.

Method:
Preheat oven to 325 degrees

-Combine base mix ingredients remembering to reserve 3 Tbsp for crumble topping, press into loaf pan.

-Prep topping mix and reserve.

-Prep filling mix by blending filling ingredients in a processor.

-Smooth our date layer over base

-Crumble mixture on top (Do Not Press Down!) 

-Bake in a loaf pan for 12 minutes then turn 1/2 way and bake for another 6-10 minutes until a golden brown.

-Allow to cool completely before cutting into squares. 
(I like to chill mine as I prefer them cold but do what works for you.)

-Store in an airtight container overnight on counter or up to a week in the fridge. 
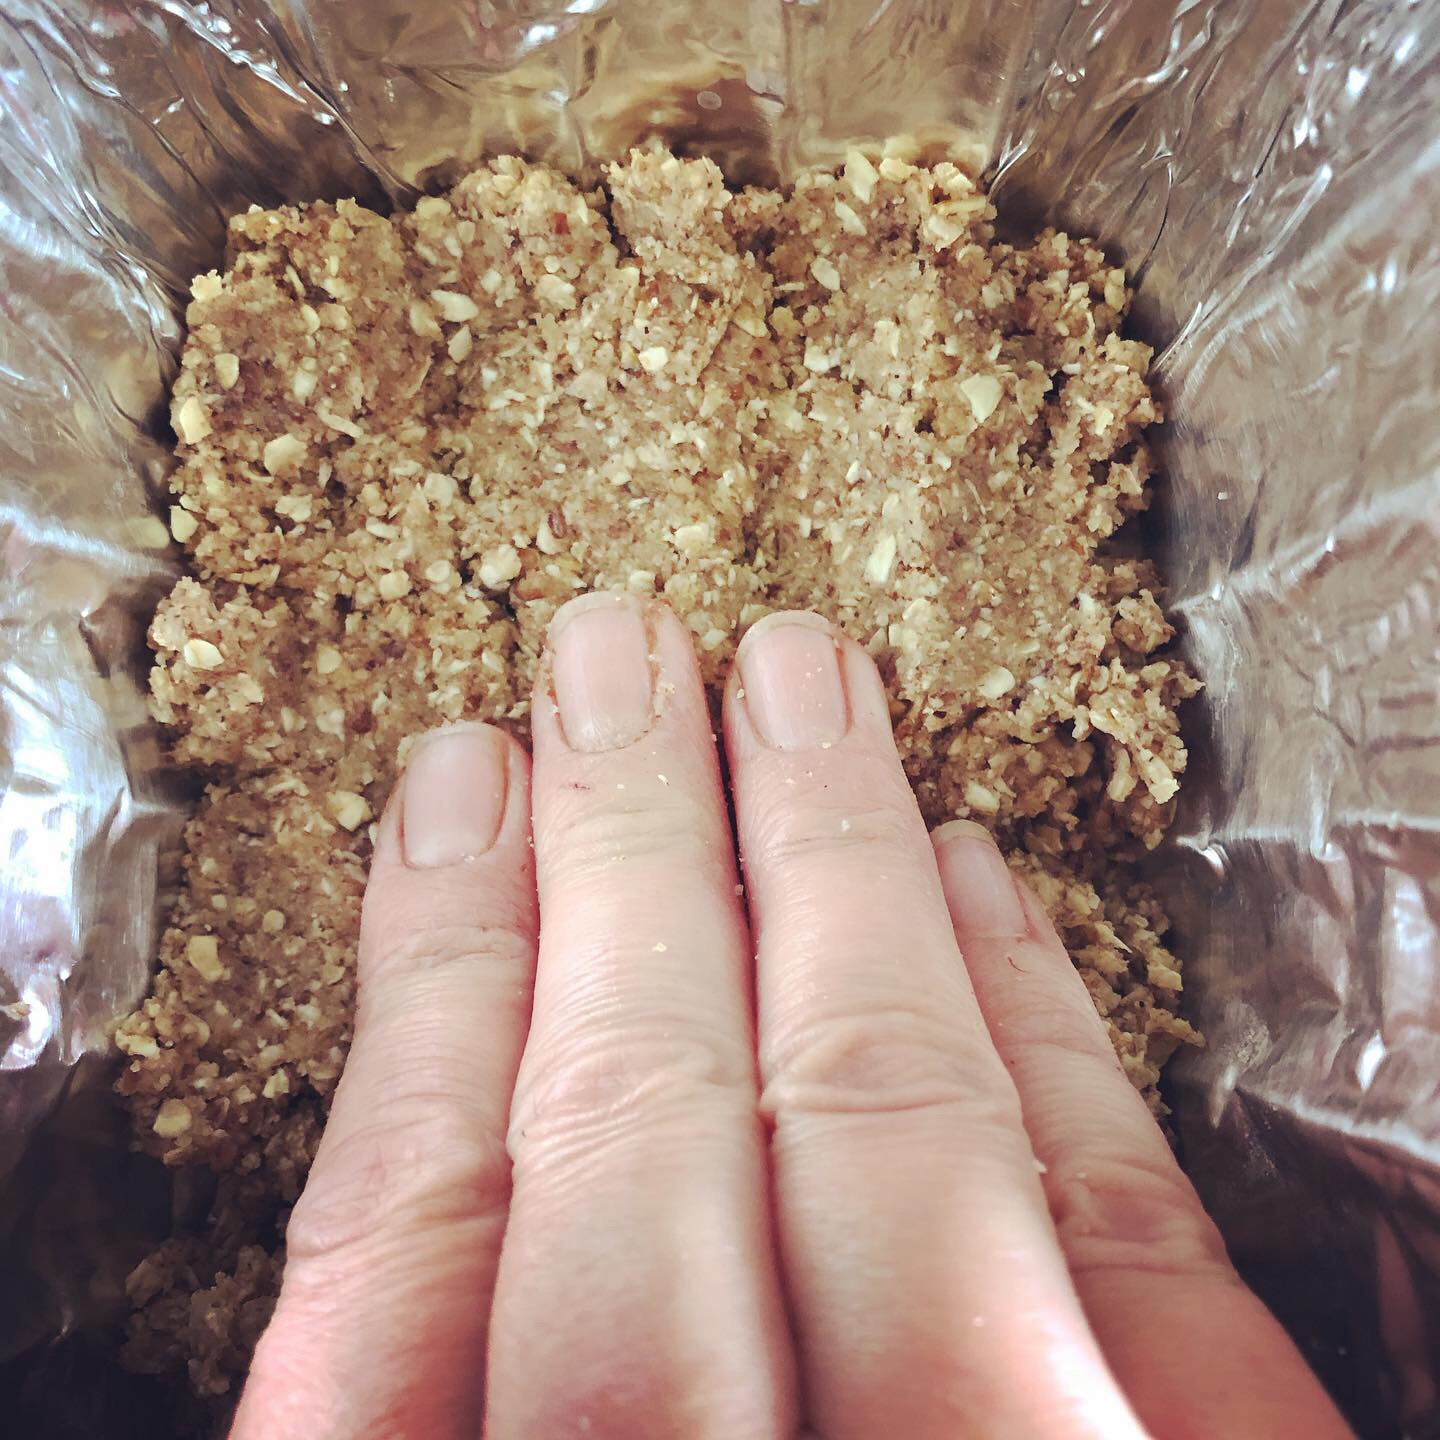


               My last bite that I scarfed down with a lovely glass of cold, unsweetened almond milk!


Let me know how this recipe turned out for you or if you have any questions, leave them in the comments down below.

Take care, be well, love freely...

Chef Kiki


Dukbokki aka Korean Rice Cakes with Chilli Paste


Hello lovely people,

As it is freaking chilly out-we are experiencing January weather, record lows, and major snow happenings, way too early for November, I decided some major, stick to your ribs, vegetarian, yum-yum noms were in order.
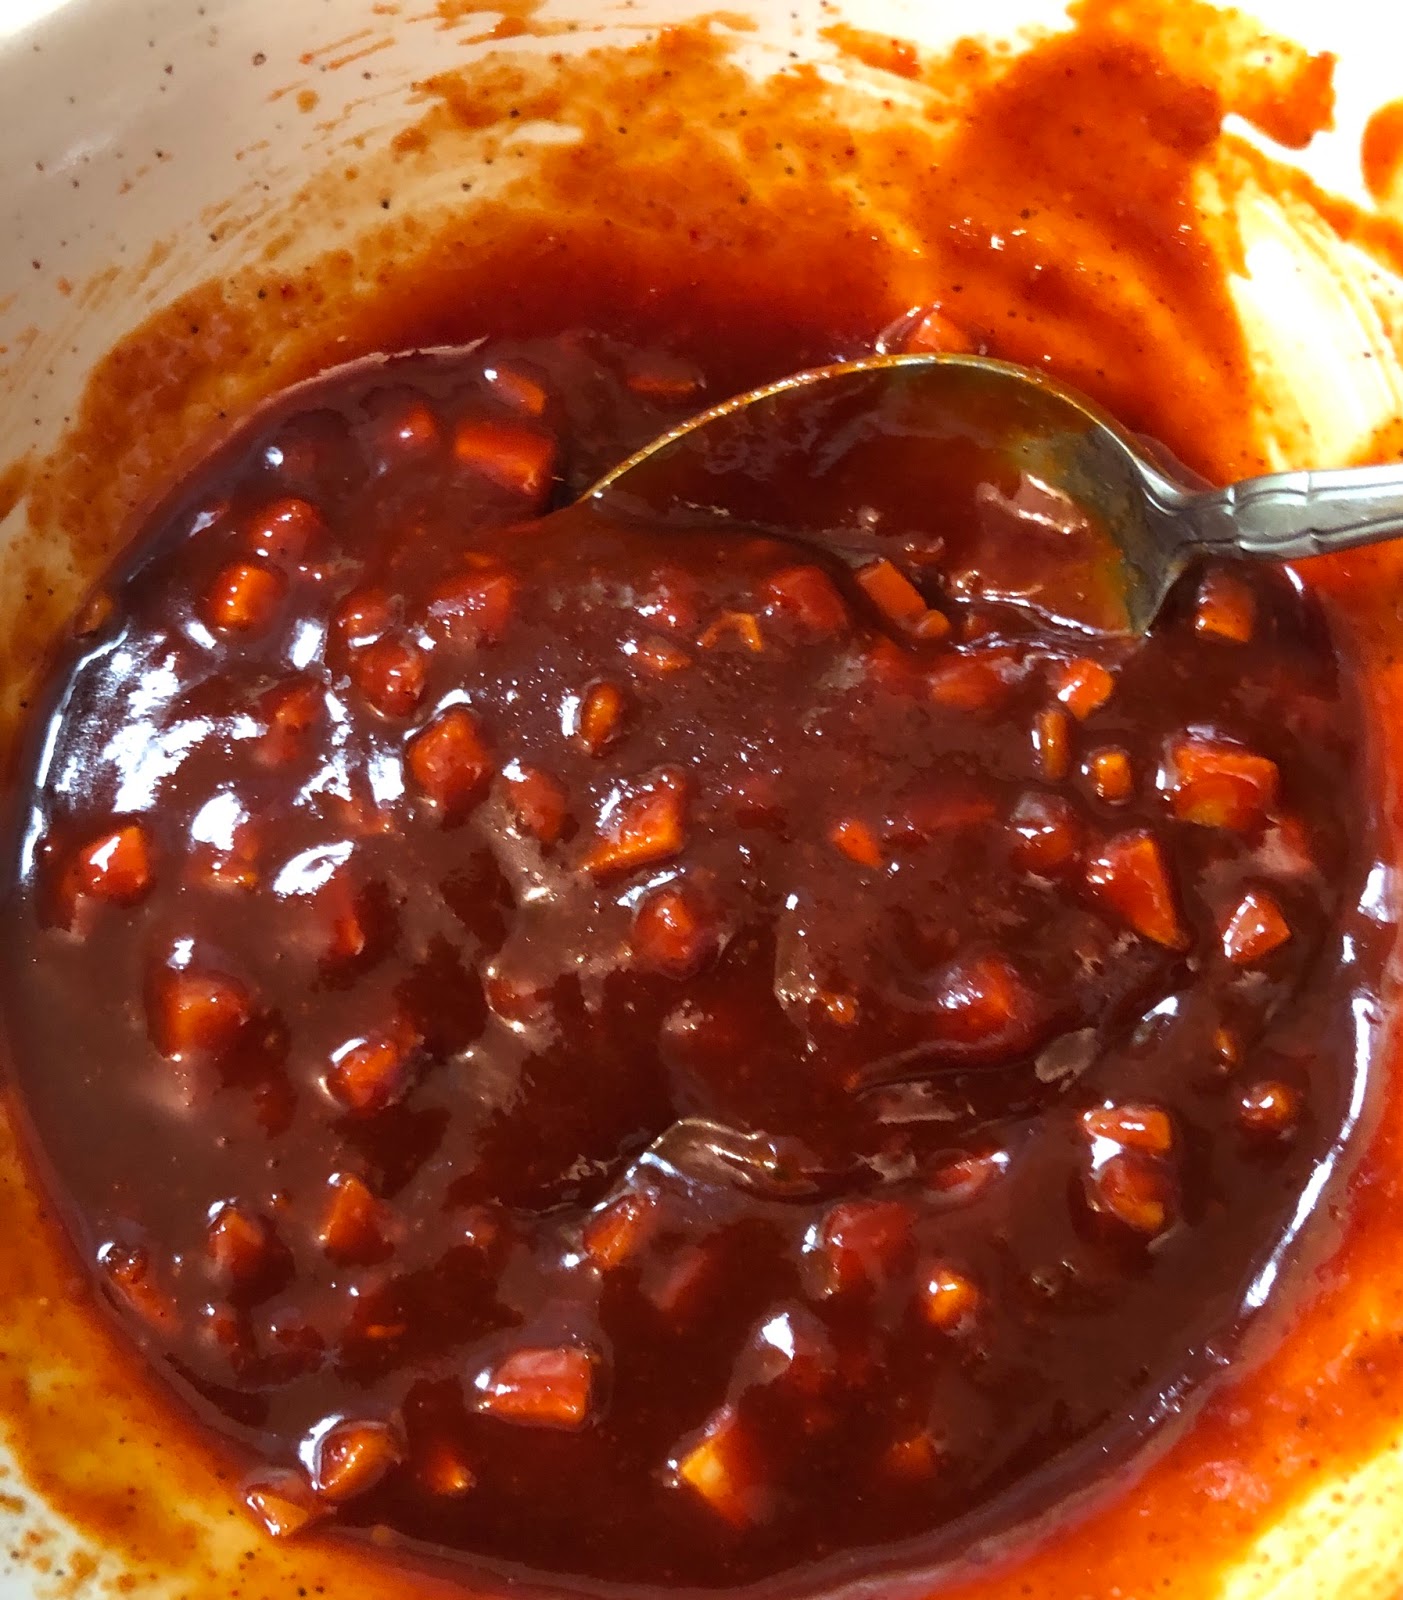
Look at that picture up there, how can she be denied?!?
Yup, that is spicy ass goodness right there my friends!
I cannot express how much I have swooned for this lovely Korean street dish.
I saw all these wonderful pics and bowls of it at this Korean market I stop a,t whenever I am in town, but never partook of it because there was gluten in all the one's I found.
Then the nice lady at this other Asian market I go to told me about this other brand that does not have gluten but is produced in a facility that has some gluten products, but no one has ever had a reaction to it, as the production line is totally separate.
I squealed for joy and went ingredient shopping with no time to spare.
The first Chilli paste container I got was small but after making this dish twice, I quickly realized that a bigger container was needed.
                         
I bought the 3KG one and felt no shame whatsoever.
I found a recipe on Pinterest and as per usual, I tweaked it and pretty much made it my own.
Honestly, it was a bit too tame for me. I wanted more garlic, more ginger, and more greens so I had fun and did my own thing.
My son proceeded to write down the recipe as I made it this past week, funny thing is I had already sent it in his messages but he forgot.
You will have to forgive the recipe layout, it isn't as neat and organized as usual but this recipe is a quick, fly by the seat of your pants, chuck it in the pot and enjoy, kinda recipe. Just go with it, live a little, and have fun. You will have no spicy regrets.

My recipe for Korean Rice Cakes:
-Soak 1 pack of rice cakes for 20-30mins in warm water.
-Gently separate when softer. Set aside.
-In pot add 4 cups water with 2 stock cubes (vegetable or herb) add 1/2 sliced onion and bring to boil.
-While that’s heating up, in a bowl mix 2 Tbsp Chili paste with 1 clove garlic minced, 1 knob ginger fine diced, 3 Tbsp soya sauce, 3 Tbsp maple sugar.
-Once water is boiling add paste mix you made, and add 1 bunch chopped scallion and drained rice cakes.
-Cook for 10-15 mins with no lid.
-At this point I chop Chinese cabbage and keep it aside along with about 1/4 cup cheese. Omitting cheese keeps this vegan should you prefer. I have had it both ways and with vegan cheese, it's just boomtastical period.
If you want the sauce to be thicker you can thicken it with 2 Tbsp soy sauce in 1-2 Tbsp cornstarch or tapioca starch but I find the noodles add the starch and thicken it up nicely on its own.
-Put in mix when dumplings are soft and thicken a bit.
Adjust seasoning if needed I add Korean hot sauce about 1/2 tsp and a bit more maple sugar as needed. ----When thick, add cabbage and cheese, mix through, cover and let sit 2-4 mins and serve hot.
Enjoy immediately and share it!


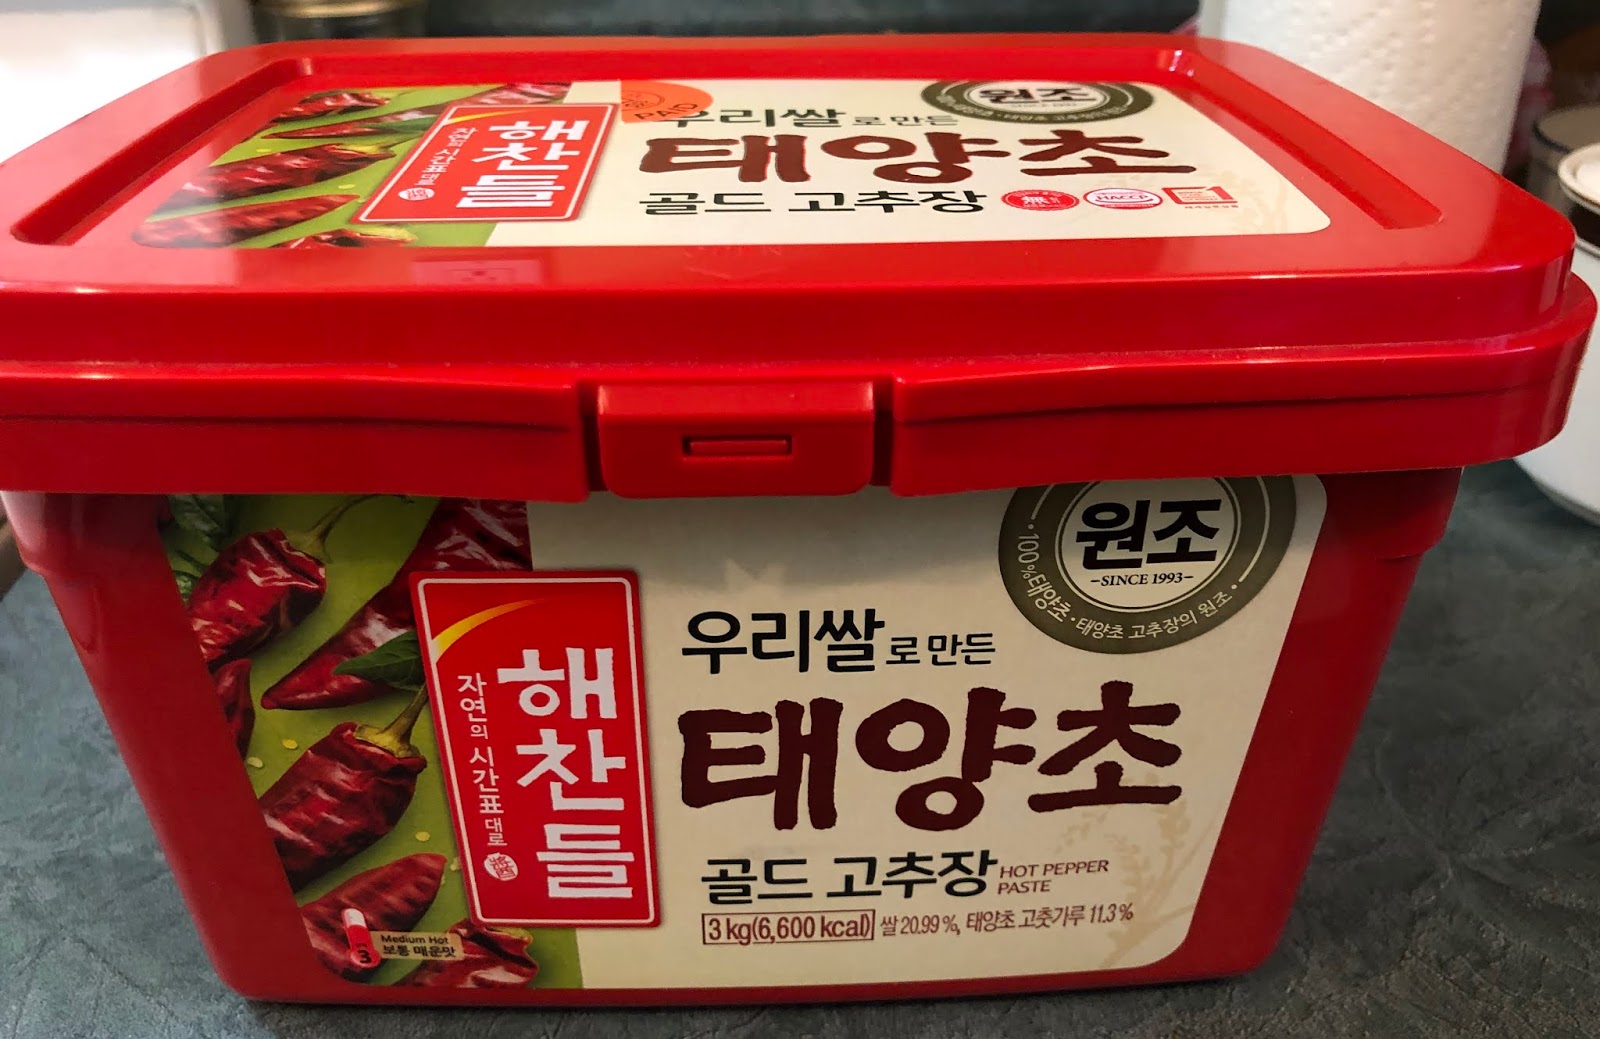
My 3Kg container of crazy good spicy awesomeness!!! It called out to me in the store, I had to adopt it.

My mom said it had to be for us cuz it looked like the Canadian, EH, on the package. Honestly, I only ever noticed the yum-scrum peppers.

I divided it into several containers and froze some, gave some, refrigerated the rest, and ate a nice meal of it, upon opening. Haaaaaaad to test it and make sure it was a good batch-all for you folks in the land of blog reading. I know, I'm such a giver...


I want you to know the calorie count in this dish, in the spirit of full disclosure; cuz it is a girdle buster if you’re not careful.
For me it is really my cheat day meal, which I am having tonight as I write this. I prepped all the ingredients at around 3pm and just waited til 5pm and it was ready to eat in no time.
Now as with all things comfort food, this should be enjoyed in moderation and as a treat. This having said that, I went a little nuts on this spicy, dumpling, full-flavour wonder and ate it repeatedly over the month of September and October. I kinda get cracked out on a food item and just go nuts on it for a period of time and then I’m like, please don’t show it to me again for a while. Except pancakes and Dukbokki, haven't seem to have found my bottom yet for those two delights!

I did have rules though when I indulged in this food. I have been using the Under Armour Fit App, (No, this is not an endorsed blog post, I totally pay for the use of it and have no business dealings with them; this is my experience with no monetary gain) and I have to stick to my calorie and fat count for my days.
I always chose to make this part of my cheat meal days and it worked out well. Plus, I recently discovered a really nice vegan poutine cheese that I can get here in Quebec, and it is a great replacement for my way fattier cheese curds.
All that to say, enjoy but be wise and keep your thighs to a respectable and healthy size.
 I hope you enjoyed this blog post, if you have any questions or if you tried this recipe, I love to hear from you; just leave it all down below in the comments section.

Take care, be well, love freely,

Chef Kiki


The rice sticks come in all shapes and sizes, these are the big, phatty, rice sticks. We found them fun once but switched back to the regular, smaller one's along with the flat rectangle style.


These are the smaller rice cakes that we adore, they are great for regular soups and stews as well, just remember to soak em'.


The Kikicolada Smoothie Vegan & Gluten-free

Bonjour one and all!

It is Tasty Tuesday and that means recipe time!
Hot and hazy summer days are still here and I am on a 30-day liquid fast, that consists of special drinks, herbal tea’s steeped with fruits, freshly juiced juices, smoothies, and spring water.
Sadly, while trying to help a friend, I was re-exposed to toxic black mold by accident, for about 2 solid hours, back in June; and I have been paying for it ever since.
It means mold detox protocols, coping with health set backs, and a bit of a tough break but praying through it.
Won’t get into all that today, as I am here to post a scrumptious recipe which I am super psyched to share with you!
Turns out, I have a thing for pina coladas but as per usual, not a fan of alcohol, so I look for  healthier versions.
Unfortunately, so many I come across use coconut cream or coconut milk and I find it too rich and thick. There’s also major white sugar in most recipes that I cannot deal with, as it sets my autoimmune system into overdrive. I end up taking a sip or two and cannot finish it.
Such a sad, lonely, pina colada waste. Waaah waaah...
Good news though! Frustration and cravings seem to make for great creative companions, and in the end I chose to play in the kitchen and make my own version.
Yes, you can like pina coladas and getting caught in the rain Kiki!
                  I know, I found a pink coconut!

                    I do so love the rain, le sigh...
This recipe made me very happy indeed.
I got a great mild coconutty flavour that perfectly balanced with the pineapple. I used a small piece of avocado to give that richness one is used to in a colada, plus it gave some additional healthy fats.
I was thrilled to have come across some young coconuts whilst I was getting my food prep done, in order for this liquid fast fun!
Yes, it may seem odd but I do enjoy, and even look forward to the periods of fasting in my life. This time around I was really feeling the need to step back from eating and just get back to basics.
Here is the recipe, it made exactly one large mason jar with  a tablespoon or two leftover for taste testers in the local vicinity. There were none at my place so I got to enjoy it all! Mwuah hahahaha!


The Kikicolada

Ingredients:
1/4 Cup fresh young coconut meat
1 Cup fresh ripe pineapple
1/3 Cup fresh coconut water
1/3 Cup fresh pineapple juice
1/4 Cup spring water
1/4 Avocado ripe
1 small, ripe baby banana
1 Tbsp ground flax

Method:
-Blend all, serve over ice and enjoy immediately.

Side note: I used the juice from the pineapple that I bought that had already been cut, (I burned myself pretty badly recently and pre-cut is helping) there is always a good amount of that juice in the container and it tastes so good, do not waste it!

I hope you and yours really enjoy this recipe, it is a wonderful edition to those summer smoothies that brighten up any day.


Leave me your comments or questions down below, and if you try it, let me know how this recipe turned out for you.

Take care, be well, love freely...

Chef Kiki